
You notice a small hole in your wall and you did not do anything to cause it. That little round or irregular gap can feel alarming because it appears out of nowhere and might mean a bigger problem.
Small wall holes appearing suddenly are usually caused by pests, water damage, structural movement, or accidental impact, identifying the cause quickly lets you fix the hole and prevent further damage.
This article shows you how to inspect, make temporary fixes, plan permanent repairs, and prevent holes from coming back. You’ll get clear steps, safety notes, and when to call a pro.
Why Small Holes Can Appear Without Warning
When a small hole shows up on your wall, the cause is often hidden inside the wall cavity. You rarely see the buildup that leads to the hole until the outer surface fails. Pests chew through finishes, water weakens material, and framing shifts can crack the finish and fall out.
You should treat the hole as a symptom, not just a cosmetic issue. A tiny entry point may allow pests, moisture, or air into the wall, and each of those can create a larger problem if left alone.
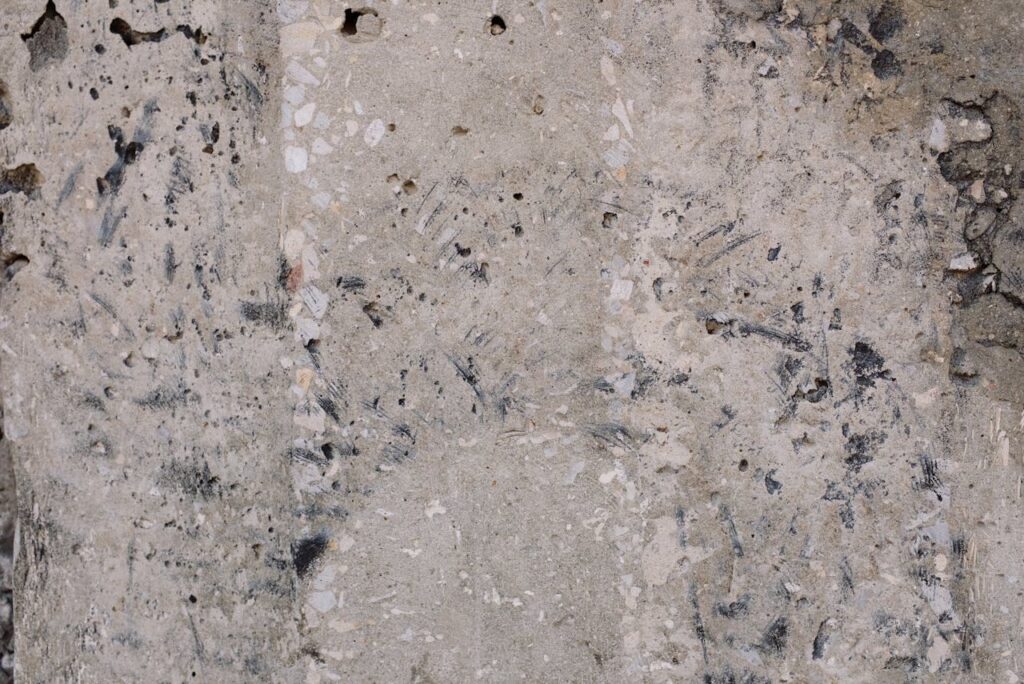
A quick visual check often reveals clues: chewed edges suggest insects or rodents, soft or discolored drywall points to water, and hairline cracks or flaking paint hint at structural movement. Use these signs to guide your next steps.
Common Causes Of Sudden Small Wall Holes
Sudden small holes fall into a few common groups. Each cause requires different follow-up actions. You will find a concise list below and then deeper detail in the subsections.
- Pest activity from insects or rodents
- Structural movement and settling
- Plumbing leaks and water damage
- Thermal expansion and material fatigue
- Impact damage from accidental forces
Knowing the likely causes helps you choose the right inspection and repair route.
Pest Activity (Insects And Rodents)
Insects and rodents create small holes to access food, nesting spaces, or warm cavities. Carpenter ants and termites remove wood and plaster, leaving smooth holes or tunnels. Rodents chew irregular holes often near baseboards, vents, or behind appliances.
If you see fine sawdust, frass, or small pellets near the hole, pests are likely. You may also hear scratching inside walls at night. Pest activity often worsens quickly because animals keep returning to the same entry point.
Act fast. A single hole can become multiple holes and a full infestation. Use traps or call pest control if you find evidence of ongoing activity.
Structural Movement And Settling
All homes settle and shift slightly over time. When framing moves, rigid finishes like drywall and plaster can crack or pop out small sections. You might see holes near corners, windows, or where two materials meet.
Temperature changes, soil movement, or minor foundation shifts create tension at joints. Those stresses focus at weak spots and can eject plaster or drywall pieces, leaving holes.
If movement causes the hole, inspect nearby trim, doors, and windows for misalignment. These signs help you decide if you need a carpenter or structural contractor.
Plumbing Leaks And Water Damage
Moisture is a common hidden culprit. A slow leak from pipes inside a wall softens drywall and plaster until a small hole forms. The area may feel damp or show paint discoloration.
Water damage often leads to mold growth and a musty odor. The hole might be larger than it looks because water weakens surrounding material.
If you suspect a leak, shut off water to the affected area and inspect visible plumbing. Call a plumber when you find wet insulation, active drips, or recurring damp spots.
Thermal Expansion, Shrinkage, And Material Fatigue
Materials expand and contract with temperature and humidity changes. Over years, repeated cycles fatigue finishes and joint compounds. Small holes can appear at seams, nail pops, or where different materials meet.
This cause is gradual, but it often looks sudden when a weakened spot finally gives way. Seasonal shifts or a recent change in indoor humidity can trigger the failure.
Control humidity and avoid rapid temperature swings to reduce risk. If fatigue is widespread, a larger repair or re-skim may be more practical than spot patches.
Impact Damage And Accidental Forces
Impact from furniture, door handles, or tools causes clear physical holes. These holes usually have sharp edges and are located near typical contact points like hallways or behind doors.
Kids, DIY projects, and moving furniture create accidental strikes. Even small repeated knocks can work a hole loose over time.
When the cause is clear, you can proceed with patching and consider adding guards like door stoppers or chair rails to prevent repeats.
How To Inspect And Diagnose The Source
A methodical inspection saves time and prevents misdiagnosis. You will check visual signs, listen for sounds, and test for moisture. Start small and escalate to opening the wall only when needed.
The goal is to find the cause so you can fix both the hole and whatever made it. A quick, focused inspection often reveals enough to decide whether you can DIY or need a pro.
Tools And Supplies For A Basic Inspection
You need a few basic tools to diagnose the problem safely and clearly:
- Flashlight
- Moisture meter or small hygrometer
- Screwdriver or awl for probing
- Binoculars or inspection mirror
- Camera or phone to document
A moisture meter helps spot water damage without opening the wall. A small mirror and flashlight let you look up into cavities near ceilings.
Step‑By‑Step Diagnostic Checklist
Follow these steps during your inspection:
- Photograph the hole and nearby area.
- Look for frass, droppings, or nesting material.
- Probe gently around the edge to test for softness.
- Use a moisture meter or touch test for dampness.
- Listen at night for activity inside the wall.
- Check adjacent rooms, floors, and ceilings for related signs.
Document what you find. Clear notes make it easier to explain the issue to a contractor or pest control.
Signs That Indicate A Deeper Problem
Certain signs show a more serious issue:
- Large areas of soft or crumbling material
- Active leaking or flooding behind walls
- Multiple holes or extensive insect galleries
- Visible mold or strong musty odors
When you see these signs, stop temporary fixes and call a licensed specialist. Water and structural issues demand prompt professional attention.
Immediate Temporary Fixes You Can Do Today
Small holes can be temporarily sealed to stop pest entry and limit moisture until you arrange a permanent fix. Use materials that are easy to remove and that do not hide evidence during professional inspection.
Temporary fixes buy you time and prevent the problem from growing worse while you plan repairs and find help if needed.
Quick Patching For Small Cosmetic Holes
For tiny holes under 1/2 inch, use spackling compound or a ready‑made drywall patch. Press a small amount of spackle into the hole, smooth with a putty knife, and let dry.
For slightly larger holes, use a self‑adhesive mesh patch before applying compound. Sand lightly when dry and paint to match.
These fixes are cosmetic and should be reversed if specialists need to inspect behind the wall.
Sealing Gaps To Prevent Pest Entry Or Moisture
To stop pests and drafts, seal gaps temporarily with caulk, steel wool, or foam backer rod depending on the hole size. Steel wool plus caulk works well against rodents because they cannot chew through the metal.
Avoid expanding foam in small holes if a pest inspection is pending. Foam can seal evidence and hinder later inspection. Use removable materials when possible.
Safety Precautions During Temporary Repairs
Wear gloves and eye protection when probing or patching holes. If you find mold, avoid disturbing it and wear a mask. Turn off power at the breaker before working near electrical outlets or wires.
If you suspect asbestos in older plaster, stop and call a specialist. Safety first: do not cut into the wall without confirming the area is safe.
Permanent Repair Options And Techniques
Permanent repair means fixing the hole and addressing the cause. The right technique depends on material type, hole size, and whether underlying issues remain.
Below you’ll find common repair methods and guidance on cost and time so you can choose the right approach for your situation.
Drywall Patch Methods (Spot Patch, Mesh, Or Replace)
Small spot patches use spackle and sanding. For holes up to about 3 inches, a mesh patch is fast and strong. Larger or damaged sections often need a cut‑out and new drywall square attached to backing.
When you match texture and paint, the repair blends in. If the wall has taped seams, reapply joint compound and tape to prevent future cracking.
Proper prep and multiple thin coats of compound produce the best finish.
Plaster Repair And Refinish Techniques
Plaster repairs require different materials and skills. You may need to secure lath, apply bonding agents, and build up thin layers of plaster for a smooth finish.
If the plaster finish is historic or textured, consider a professional for a seamless result. DIY plaster repair is possible but can look uneven if not done carefully.
A skilled plasterer can match finishes and restore structural integrity.
Repairing Underlying Causes (Plumbing, Framing, Pest Treatment)
Fixing the visible hole without treating the cause wastes time. If a plumber, carpenter, or pest control technician is needed, schedule them before cosmetic work.
Plumbers repair leaks, framers address movement or rot, and pest control eliminates infestations. After the source is fixed, complete the cosmetic repair.
Coordinate trades so repairs proceed in the right order and you avoid redoing work.
Cost And Time Estimates For Typical Repairs
Typical costs vary by cause and region. Use this quick table for ballpark estimates.
| Repair Type | Typical Cost | Time to Complete |
|---|---|---|
| Small drywall patch | $20 to $100 | 1 to 3 hours |
| Mesh patch or cut‑in | $75 to $250 | 2 to 6 hours |
| Plaster repair | $200 to $800 | 1 to 3 days |
| Plumbing leak repair | $150 to $1,000+ | Same day to 2 days |
Costs rise if structural repair or extensive pest or mold remediation is required. Get written estimates for larger jobs.
Prevention And Ongoing Maintenance To Avoid Recurrence
Preventing new holes means ongoing checks and simple habits. Keep humidity in range, inspect vulnerable areas, and control pests proactively.
A short maintenance routine reduces the chance of surprises and costly repairs later.
Home Maintenance Checklist (Humidity, Ventilation, Inspections)
Use this checklist monthly or seasonally:
- Check for damp spots and musty smells
- Inspect behind appliances and in closets
- Measure indoor humidity and keep it 30–50%
- Test vents and exhaust fans for proper flow
- Look for paint blistering, peeling, or cracking
Good ventilation and humidity control reduce material fatigue and mold.
Pest Prevention Strategies And Seasonal Tips
Seal gaps around pipes, vents, and utility penetrations. Keep food sealed and reduce clutter near walls. Trim vegetation away from the house and store wood off the ground.
Seasonal checks before winter and summer help because pests often seek shelter when weather shifts. For detailed pest guidance, see the EPA pest pages and CDC resources for rodents.
Early prevention saves money and avoids structural damage.
When To Call A Professional And What To Ask
You should call a professional when you find active leaks, extensive mold, large structural damage, or signs of heavy infestation. A qualified pro can diagnose hidden issues and perform safe repairs.
Prepare a short list of questions before you call so you get the right help quickly.
Red Flags That Require A Contractor Or Specialist
Call a specialist for these red flags:
- Ongoing moisture or active leaks
- Structural cracks near load points
- Visible mold covering more than a small area
- Multiple holes with evidence of infestation
- Suspected asbestos in old plaster
When red flags appear, do not delay. A fast professional response reduces overall cost and risk.
How To Choose A Qualified Repair Professional
Ask for licenses, insurance, references, and photos of similar work. Get at least two written estimates and check reviews. Confirm the scope: source repair first, then cosmetic finish.
For pest issues, ask about treatment type, follow‑up visits, and guarantees. For plumbing or structural problems, request a clear timeline and permit details if needed.
A trustworthy pro communicates clearly and provides a written contract.
Frequently Asked Questions
Why are small wall holes appearing suddenly in my home?
Small wall holes appearing suddenly are usually symptoms of hidden issues: pests chewing through finishes, water damage weakening drywall or plaster, structural movement causing material to pop out, or accidental impact. Inspect edges for frass, dampness, or cracks to narrow the cause before patching.
How can I tell if a sudden small hole is caused by pests or by water?
Look for frass or droppings and night noises for pests; soft, discolored, or musty-smelling drywall indicates water. Probe edges gently—chewed, jagged edges suggest rodents; uniformly softened plaster or paint staining points to moisture and possible mold behind the wall.
What temporary fixes can I use right away for small wall holes appearing suddenly?
Temporarily seal small holes with spackle or a mesh patch for cosmetic protection, and use steel wool plus caulk to block rodents. Avoid expanding foam if pest inspection is needed. Wear gloves and shut off power near electrical areas; use removable materials so specialists can inspect if required.
When should I call a professional about sudden small wall holes?
Call a pro if you find active leaks, extensive mold, multiple holes or insect galleries, soft crumbling material, or suspected asbestos. Also contact plumbers for wet signs, pest control for ongoing infestation, and structural contractors for movement near load points—don’t delay on red-flag signs.
Can seasonal humidity or temperature changes cause small wall holes to appear suddenly?
Yes. Thermal expansion, shrinkage, and repeated humidity cycles can fatigue joint compound and finishes; a weakened spot may fail suddenly. Controlling indoor humidity (30–50%), improving ventilation, and avoiding rapid temperature swings helps reduce the risk of these sudden failures.